Custom Page Layouts
You can still design your product pages with shortcodes like you have always been able to do. Now, as of Cart66 2.0, Cart66 also has its own custom post type for products. Included with Cart66 are several page layouts for displaying individual products as well as listing your catalog of products.
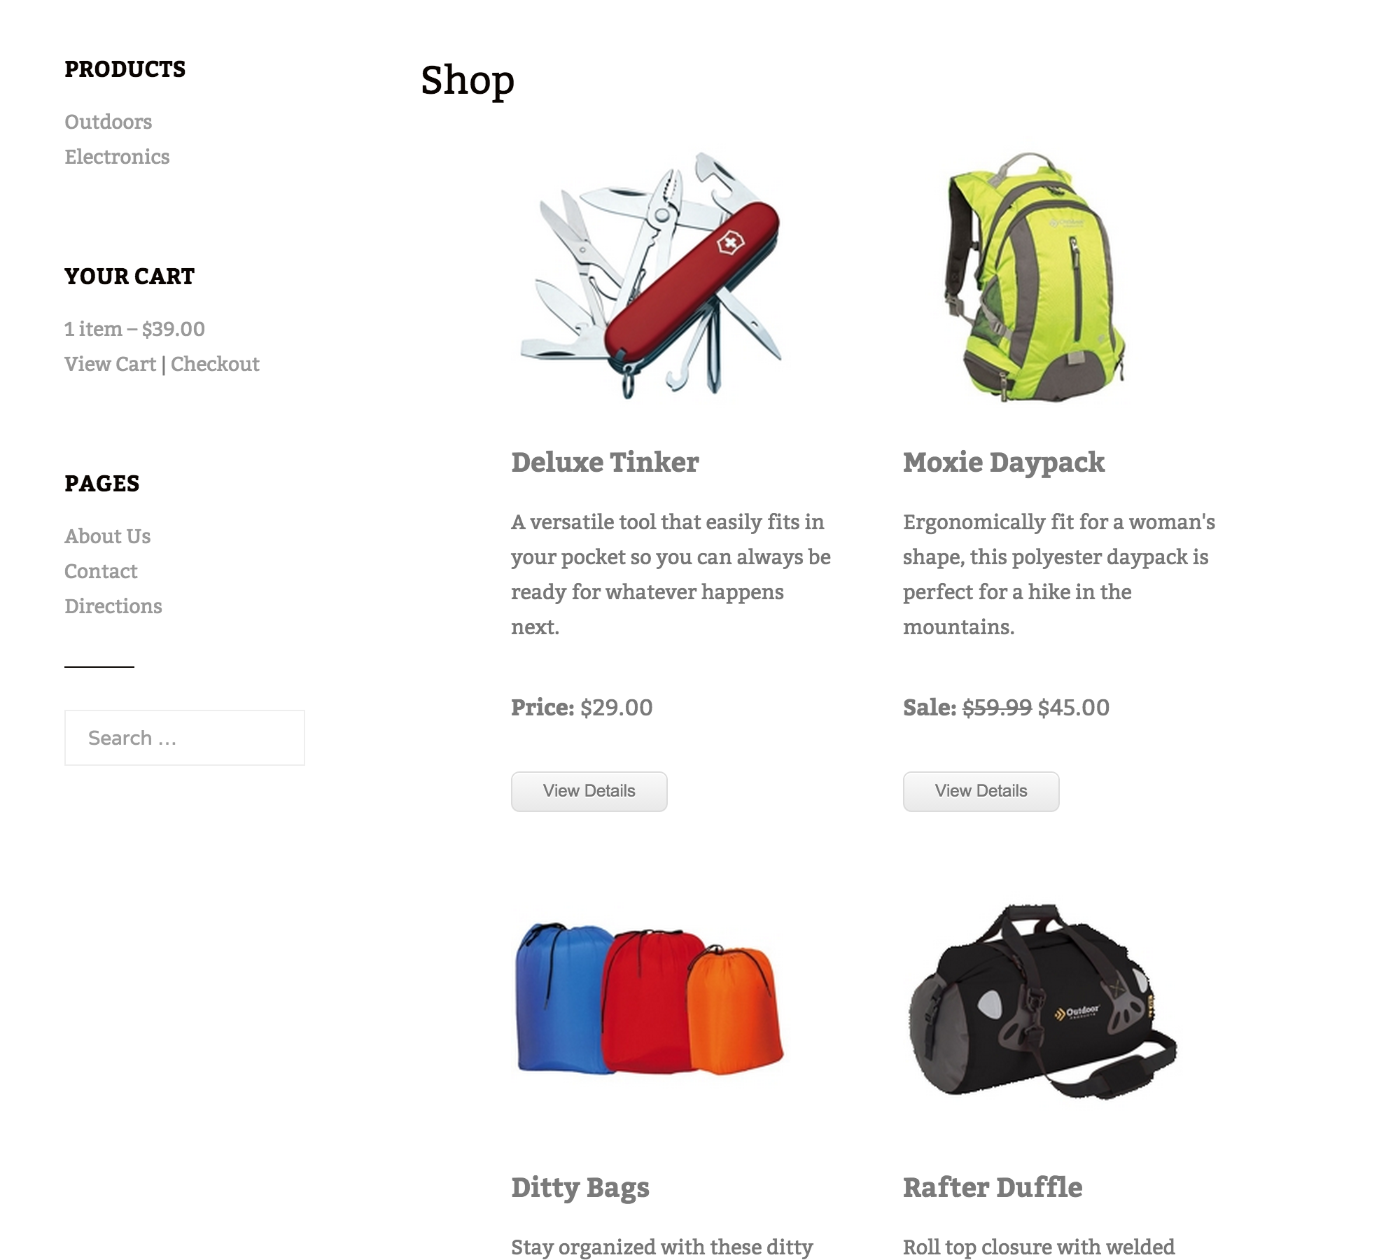
Cart66 store page showing product catalog in TwentyFifteen theme
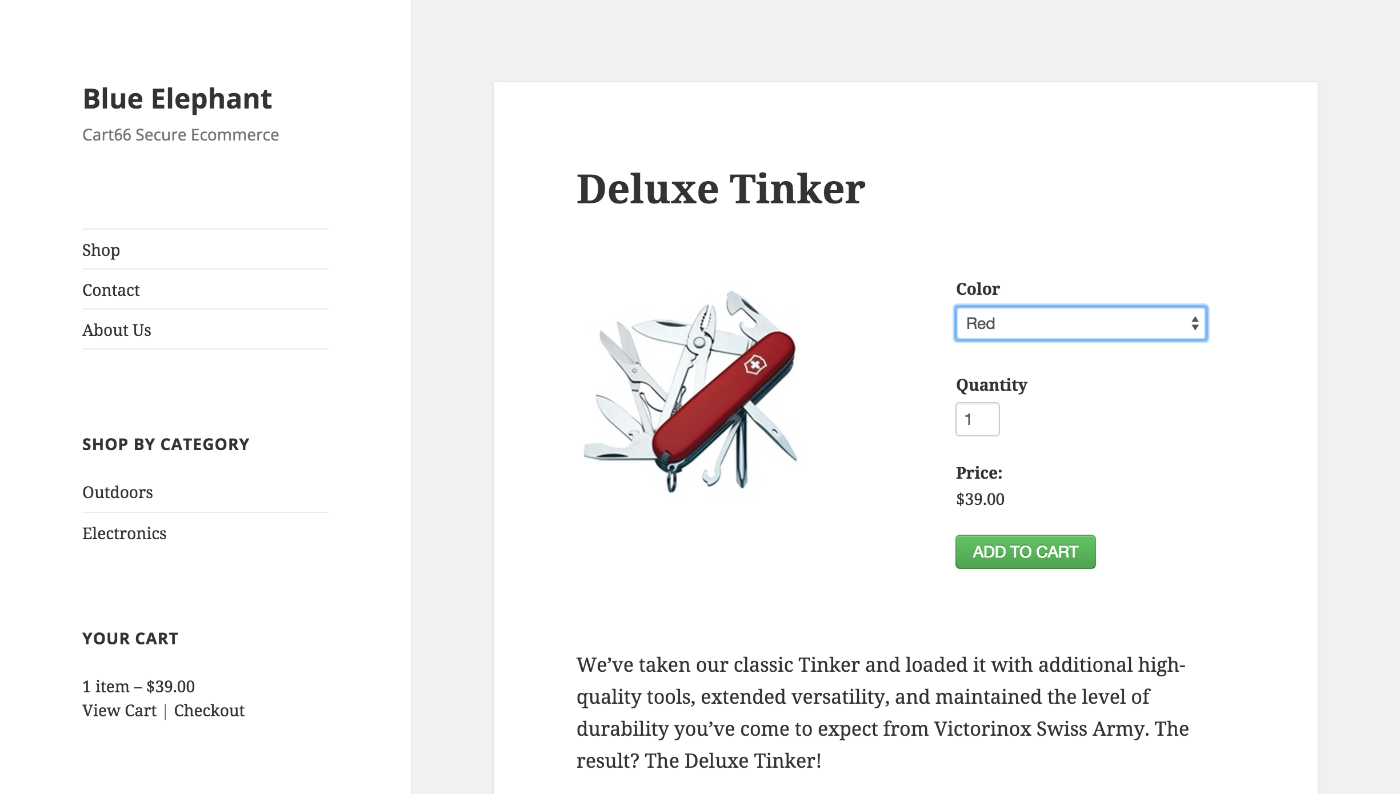
Cart66 product page in TwentyFifteen theme
Creating Your Own Layouts
If you would like to customize these layouts, you can override the default templates by creating your own template files in a /cart66 directory in your theme. In this example, we'll use the free Exray theme available in the official WordPress repository. Exray has a three column layout with sidebars on each side and the content area in the middle. With some custom page templates, it is easy to integrate Cart66 into this layout.
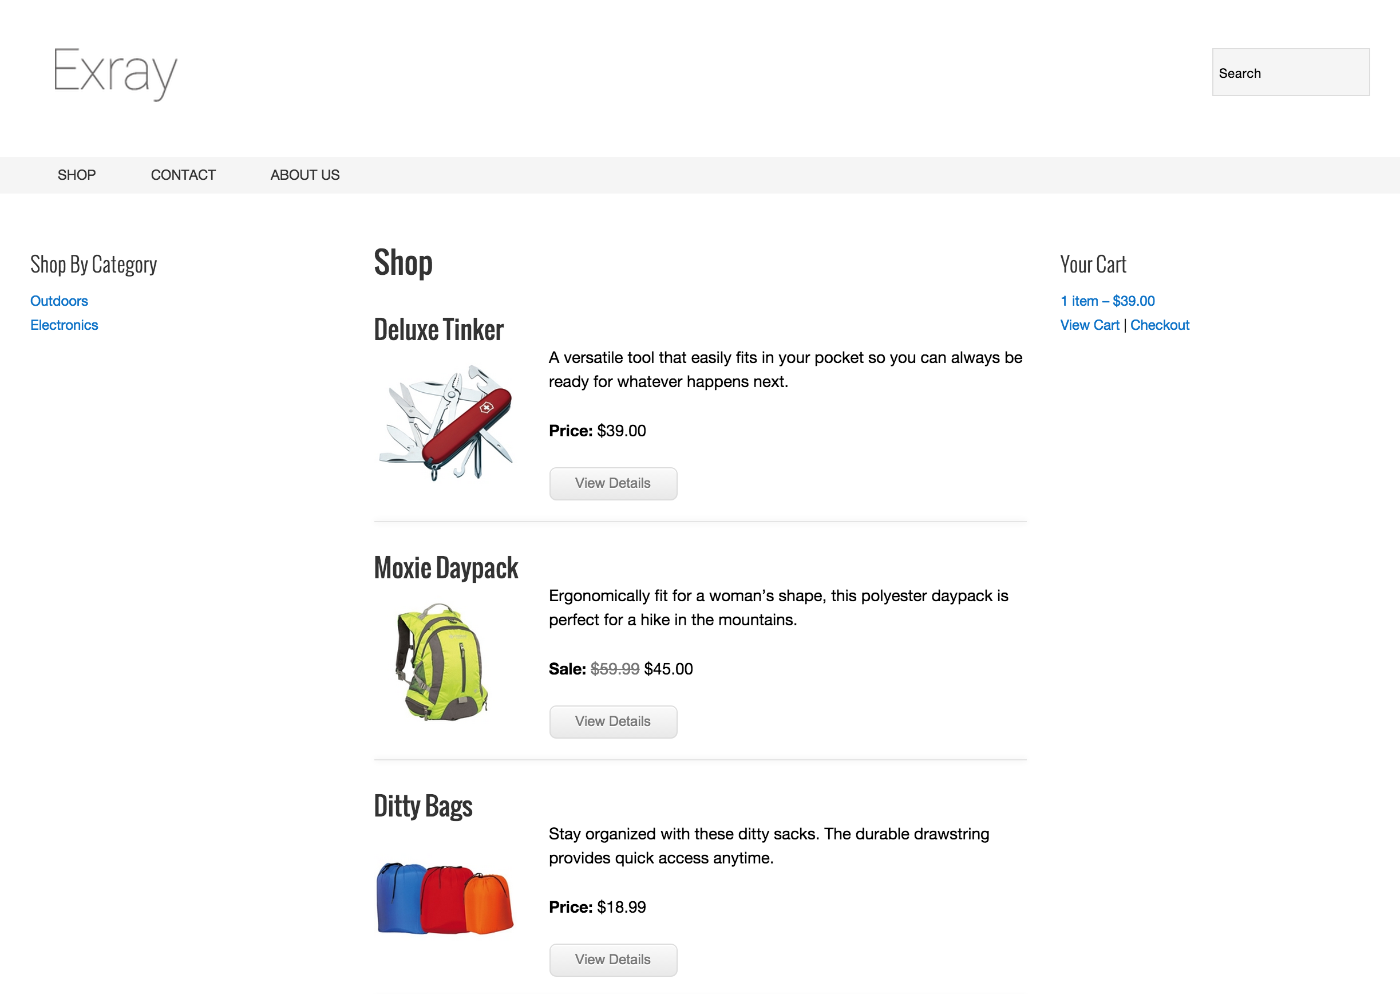
Cart66 product catalog with custom page templates for the Exray theme
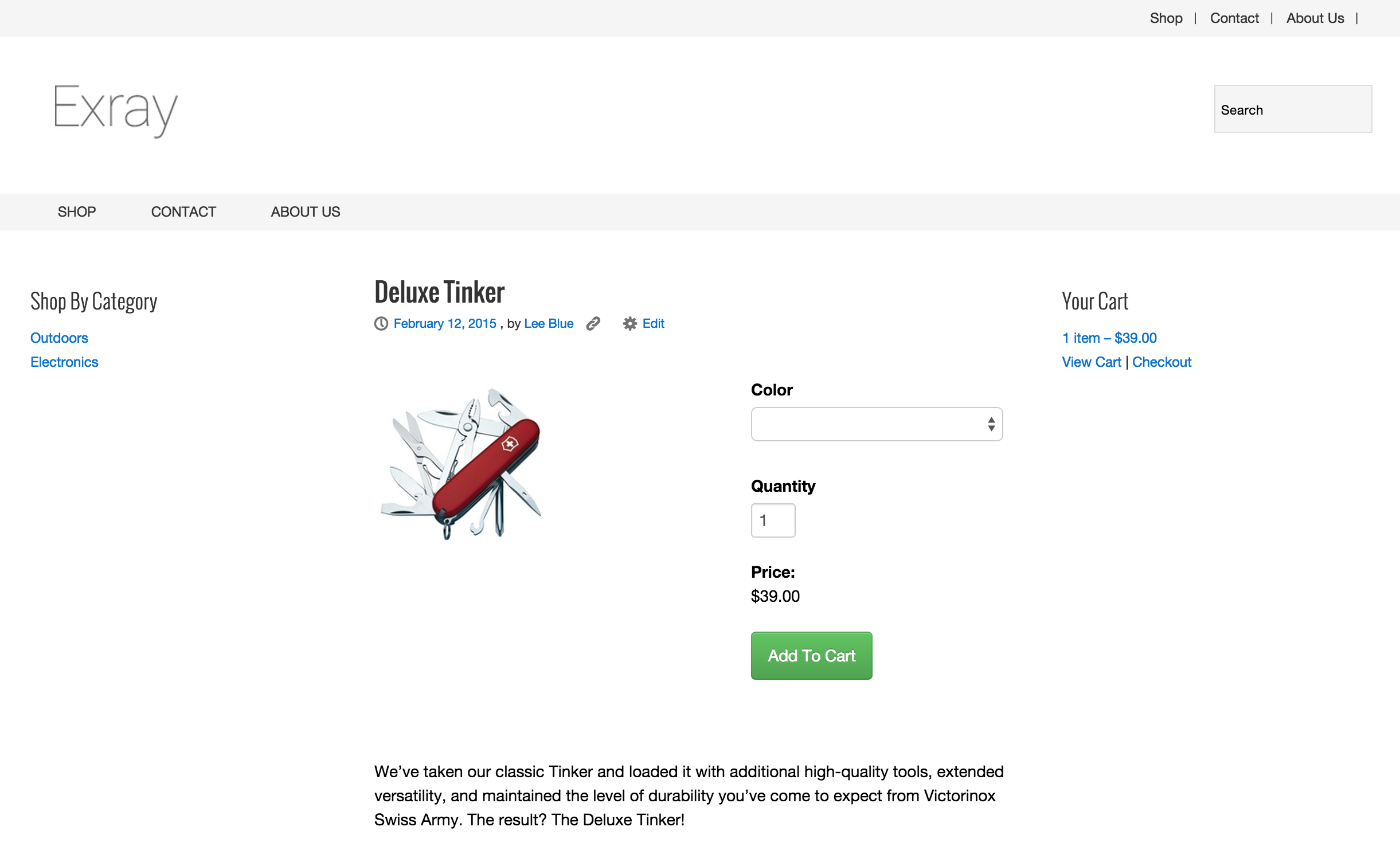
Cart66 single product view with custom page templates for the Exray theme
There are only four files you need to override in order to create your custom layout:
- archive-product.php
- content-product-grid-item.php
- content-product.php
- single-product.php
Here you can see the directory structure showing the cart66 directory holding the four template files in the Exray theme.
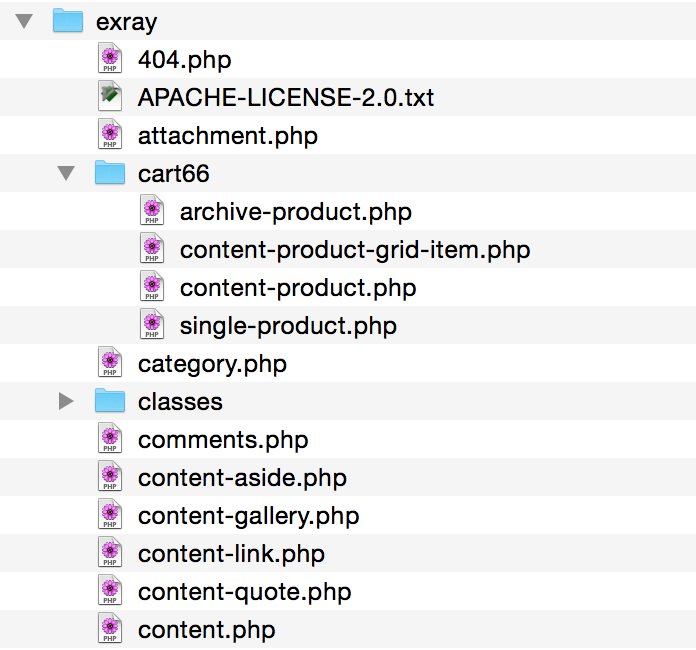
Partial view of Exray theme files showing the Cart66 directory
Template File Details
archive-product.php This is the page template responsible for the catalog view of your products. This page template defines the loop when someone goes to your store home page or when they view a category of products. The main part of the page template is listed here:
<?php if(have_posts()) : ?>
    <h1 class="entry-title"><?php echo cc_page_title(); ?></h1>
    <ul class="cc-product-list">
        <?php while ( have_posts() ) : the_post(); ?>
            <?php
                cc_get_template_part( 'content', 'product-grid-item' );
            ?>
        <?php endwhile; ?>
    </ul>
<?php endif; ?>
The call to cc_page_title() pulls in the setting from the Cart66 settings for your shop name. The other significant function is cc_get_template_part() which pulls in the content-product-grid-item.php template. This function first looks to see if you provide your own template. If not, the default template is pulled in.
content-product-grid-item.php This is the template that defines how each individual product gets displayed in the product catalog view. You can control several of the labels such as Price, On Sale, and View Details from the Cart66 settings in your WordPress admin. The HTML markup for the layout is defined in this file.
single-product.php In the same way that archive-product.php defines the markup surrounding the products shown by content-product-grid-item.php, the single-product.php template defines the markup surrounding the display of an individual product. You define the overall markup for the layout of your single product template then include a call to cc_get_template_part() to pull in the markup for the actual product information with code like this:
<div class="entry-content">
    <?php cc_get_template_part( 'content', 'product' ); ?>
</div>
content-product.php This template defines the layout for the product information. For example, in the code below, we show the product image beside the product order form. Below all of that, we show the page content for the product.
<div class="cc-product-box">
    <div class="cc-product-image">
        <?php the_post_thumbnail(); ?>
    </div>
    <div class="cc-product-form">
        <?php
            $product_sku = get_post_meta( get_the_ID(), '_cc_product_sku', true );
            echo do_shortcode( '[cc_product sku="' . $product_sku . '" quantity="true" price="true" display="vertical" ]' );
        ?>
    </div>
</div>
<div style="clear:both;"></div>
<div class="entry-content">
    <?php the_content(); ?>
</div>
Summary
To integrate any theme with Cart66 all you have to do is provide your own Cart66 template files and place them in a /cart66 directory in the root of your theme. This allows you to define virtually any layout to display the products in your Cart66 WordPress ecommerce store.
Once you have defined those four template files and placed them in a /cart66 directory in the root of your theme, you are finished integrating Cart66 cloud into you theme. If you are distributing this theme you may want to declare support for Cart66 in your theme.